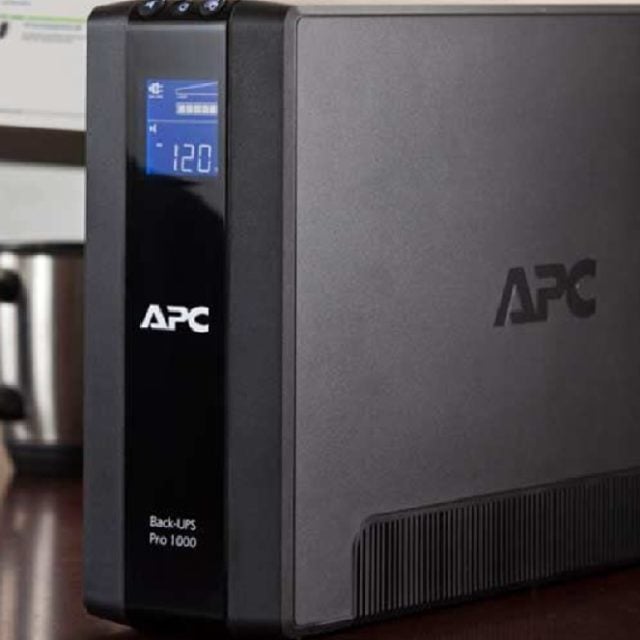
To keep your systems running at an optimal level, it greatly helps to have a comprehensive UPS solution health checklist in place. Over time, UPS systems can be prone to wear and tear. Batteries will need to be replaced, components will need to be checked, systems will need to be physically cleaned and other steps will need to be taken to make sure that systems are working as they should. This is the best way to be sure that your systems are not at risk of failure, which, in turn, helps to avoid expensive and time-consuming downtime. Keep reading to get our simple UPS solution health checklist to keep your systems running properly.

This checklist will make sure that your UPS solution stays in optimal health, preventing problems and ensuring better performance.
Batteries are easily the most critical component in your UPS. You will need to do a regular check of the batteries to test various elements. The first step is to keep note of the battery age. Batteries can last between two and five years. Older batteries closer to five years should be replaced. You will also need to run a UPS battery self-check to see that it is working properly. Next, look under the hood to check for battery damage or swelling. If you have a larger centralised UPS you can consider a preventative maintenance check as well to test individual batteries.
You will need to do a regular clean to be sure that dust and other issues do not cause any problems. Over time, physical interference can reduce your system’s reliability. Check things such as the airflow to be sure that nothing is blocking it or avoiding your UPS being kept at room temperature. Ideally, you want a temperature of about 25 degrees Celsius. You will also need to do a wipe down to remove grime that can damage fans and other components. Larger centralised UPS systems will need to have their air filters replaced or cleaned.
Next, you will need to be sure that your communications are configured. This is essential to enable IT managers to proactively respond to alerts. You will need to run test emails if your UPS has a Network Interface Card (NIC). Changing email servers or domains can result in outdated settings. You will need to check software, too, to be sure that your UPS and NIC versions are fully up to date.
Finally, you will need to make sure that your UPS is still under warranty. In the event of UPS failure, outdated service information can be extremely frustrating, not to mention expensive. Make sure that you carefully check your service contract to review your coverage. Ideally, keep this information somewhere central in a single place to avoid losing information. You will also need to register your UPS if you don’t have a service contract. Registration will help you stay informed on updates, making it easier to get help in the event of any issues.
Follow this basic checklist and you will be able to enjoy a reliable, long-lasting UPS solution that protects data and equipment for a long time.
Find out more about how Eaton is powering businesses everywhere and can help you maintain your UPS system and infrastructure.

© Copyright 2024 Tarsus Distribution